
Desserts
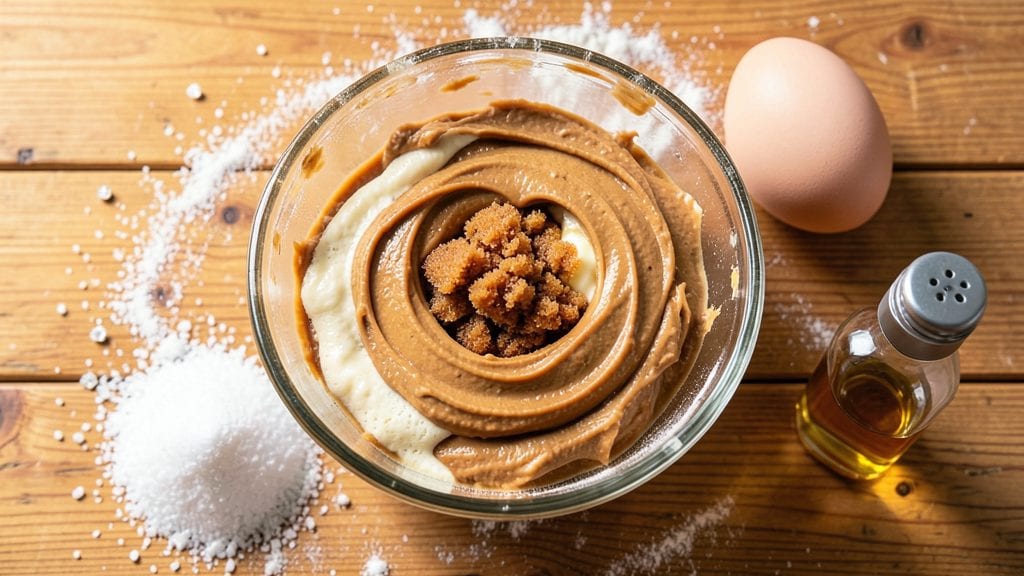
Grandma's old-fashioned peanut butter cookie recipe brings back memories of warm kitchens and the unmistakable aroma of freshly baked treats. These cookies deliver the perfect balance of crispy edges and gooey centers, with a rich peanut butter flavor that's hard to resist.
I've been perfecting this recipe for years, keeping it true to the original while ensuring foolproof results every time.
The secret to achieving that nostalgic texture lies in the combination of creamy peanut butter and just the right amount of brown sugar. Unlike modern recipes that often call for excessive mixing, this method relies on gentle folding to maintain tender cookies with those signature cracks on top.
The recipe uses simple pantry staples but delivers restaurant-quality results that taste homemade.
What makes these cookies truly special is their versatility—they're perfect for holiday gatherings, school bake sales, or a simple treat with your afternoon coffee. The flavor profile is rich and satisfying, with a subtle sweetness that lets the peanut butter shine.
Each batch yields about 24 cookies, ready in just 15 minutes of prep and 12 minutes of baking at 350°F.
My grandmother always said the key to great cookies was patience—letting the dough rest before baking ensures maximum flavor development. These cookies stay fresh for up to a week when stored properly, though I can't guarantee they'll last that long in your house. Let's get baking!
Ingredients for grandma's old fashioned peanut butter cookie
Simple pantry staples transform into nostalgic cookies with signature cracks and gooey centers.
| Ingredient | Amount | Notes |
|---|---|---|
| Creamy Peanut Butter 🥜 | 1 cup | Natural, unsweetened preferred |
| Unsalted Butter 🧈 | ½ cup | Room temperature for mixing |
| Light Brown Sugar 🍯 | ¾ cup | Packed firmly for accuracy |
| Granulated Sugar 🍚 | ¼ cup | For balanced sweetness |
| Large Eggs 🥚 | 2 whole | Room temperature for best texture |
| Pure Vanilla Extract 🌿 | 1 tbsp | High-quality for authentic flavor |
| All-Purpose Flour 🌾 | 1 ½ cups | Sifted for light texture |
| Baking Soda 🧪 | ½ tsp | Ensures proper rise |
| Salt 🧂 | ½ tsp | Fine sea salt preferred |
| Chocolate Chips 🍫 | 1 cup | Semi-sweet preferred |
| Chopped Peanuts 🥜 | ½ cup | Toasted for extra flavor |
The peanut butter makes all the difference here. Creamy, natural peanut butter from brands like Smucker's or Jif works best—avoid the sweetened versions, as they can alter the balance. For the butter, Land O'Lakes or Kerrygold are reliable choices, but any good-quality unsalted butter will do. The brown sugar should be light and packed firmly to ensure the right texture. I like to grab mine from the bulk bins at Whole Foods or Trader Joe's for the freshest possible. The vanilla extract is where you can splurge—McCormick or Nielsen-Massey are worth the investment for that authentic flavor.
No creamy peanut butter? Crunchy peanut butter blended until smooth works in a pinch, but expect a slightly different texture. Short on chocolate chips? White chocolate chips or chopped nuts add a nice variation. The baking soda is non-negotiable—it's what creates those signature cracks on top. If you're out, baking powder at double the amount can substitute, but the texture won't be quite the same. The peanuts can be skipped entirely if you prefer, but they add a delightful crunch that ties into the classic flavor profile. For a richer dough, consider adding a tablespoon of cocoa powder to the flour mix.
The dough should rest for at least 30 minutes before baking—this ensures maximum flavor development, just like Grandma always said. Store the dough in an airtight container in the fridge for up to 48 hours if you're prepping ahead. Baked cookies stay fresh for 5-7 days in an airtight container at room temperature, though they're best enjoyed within the first few days. For longer storage, freeze the baked cookies in a single layer before transferring to a sealed container—up to 3 months in the freezer. Reheat in the oven for 5 minutes at 300°F to restore that fresh-baked aroma.
Why You'll Love This Recipe
- No-Fuss Mixing: I swear by the creamy peanut butter and brown sugar combo—just stir, scoop, bake. No weird ratios or fancy techniques, just the kind of dough that practically folds itself.
- Rich & Crunchy Magic: That perfect chewy center with a crisp edge? It’s all in the cold butter and brown sugar—no weird textures, just pure peanut butter bliss that hits every time.
- Holiday or Snack Attack: These cookies freeze like champs, so I bake a batch for holidays and pull them out whenever cravings strike. (Yes, even on a Tuesday night.)
- Budget-Friendly Staples: Five ingredients, all pantry basics—no specialty items, no markup. The kind of treat that costs pennies but tastes like a splurge.
Step-by-step instructions for Grandma's old-fashioned peanut butter cookies
Here's how to recreate Grandma's legendary cookies with perfect texture every time.
Cream Butter and Sugars Together
In a large mixing bowl, combine the 0.5 cup unsalted butter and 0.75 cup light brown sugar using a hand mixer or stand mixer fitted with the paddle attachment. Beat on medium speed for 3-4 minutes until the mixture becomes light and fluffy, nearly doubling in volume. You'll notice the color lighten slightly as air incorporates—this creates that classic tender texture.
Add the 0.25 cup granulated sugar and continue mixing for another 1-2 minutes until fully combined. The granulated sugar helps balance the moisture from the peanut butter and butter, preventing overly dense cookies. Here's the thing—don't rush this step. Properly creamed butter and sugars form the foundation for that signature chewy yet crispy cookie texture Grandma's recipe is known for.
Add Eggs and Vanilla
Add the 2 whole large eggs, one at a time, mixing on low speed for 30 seconds after each addition. This gradual incorporation prevents the eggs from breaking and creates a smoother dough. After adding both eggs, stir in the 1 tablespoon pure vanilla extract and mix for another 30 seconds until fully combined.
The eggs provide structure while keeping the cookies moist, and the vanilla extract adds that authentic nostalgic flavor. I always use room temperature eggs for this recipe—they mix more smoothly and help create a lighter texture. If your eggs are cold, let them sit at room temperature for about 15 minutes before using.
Mix in Peanut Butter and Dry Ingredients
Reduce the mixer speed to low and gradually add the 1 cup creamy peanut butter, mixing until completely smooth. The peanut butter should blend in evenly without any streaks remaining. In a separate bowl, whisk together the 1.5 cups all-purpose flour, 0.5 teaspoon baking soda, and 0.5 teaspoon salt. This ensures even distribution of leavening agents throughout the dough.
With the mixer on low speed, gradually add the dry ingredients to the wet mixture. Mix just until combined—you should still see small flour streaks. Overmixing develops gluten, which can make the cookies tough. Here's where it gets fun: fold in the 1 cup chocolate chips and 0.5 cup chopped peanuts by hand using a rubber spatula. Make sure they're evenly distributed throughout the dough.
Chill the Dough
Cover the mixing bowl with plastic wrap and refrigerate the dough for at least 2 hours, or up to 24 hours. This chilling step is crucial—it allows the flour to fully hydrate and prevents the cookies from spreading too much in the oven. The dough will firm up significantly during this time, making it easier to handle and shape.
Real talk: Skipping this step often leads to flat, crispy cookies instead of the perfect balance of chewy centers and crisp edges that make these cookies special. I like to chill mine overnight—it actually enhances the flavor development. When you're ready to bake, remove the dough from the refrigerator and let it sit at room temperature for 15 minutes before scooping.
Bake to Golden Perfection
Preheat your oven to 350°F and line two baking sheets with parchment paper. Using a cookie scoop or tablespoon, drop 1-tablespoon portions of dough onto the prepared baking sheets, spacing them about 2 inches apart. You should get about 24 cookies from this recipe—enough for a nostalgic batch.
Bake for 10-12 minutes until the edges are golden brown but the centers still look slightly soft. The cookies will continue to set as they cool, so don't overbake them. For perfect cookies, you want them to pull away slightly from the parchment paper when you touch them gently. Let the cookies cool on the baking sheets for 5 minutes before transferring them to a wire rack to cool completely.
Pro Tips For Making Grandma'S Old Fashioned Peanut Butter Cookie
- CREAM THE PEANUT BUTTER FIRST: I learned this the hard way—mixing peanut butter into softened butter at room temperature creates a smoother dough. If you add it cold, you’ll end up with streaks of peanut butter that don’t fully incorporate, no matter how much you mix. Let the peanut butter sit out for 10 minutes before measuring, and you’ll save yourself 10 minutes of frustration later.
- WEIGH YOUR BROWN SUGAR: Brown sugar clumps like a drama queen, and scooping it by volume guarantees uneven cookies. Use a kitchen scale for the brown sugar—pack it lightly into the measuring cup first, then level it off. The moisture content varies wildly between brands, and this step keeps every batch consistent.
- UNDERBAKE THEM SLIGHTLY: Old-fashioned peanut butter cookies spread like gossip at a family reunion. Pull them when the edges are just starting to turn golden—about 8-10 minutes in a 350°F oven—then let them cool on the sheet for 5 minutes. They’ll firm up as they sit, and you’ll avoid sad, flat pancakes instead of chewy cookies.
- SALT THE DOUGH WELL: Unsalted butter + no salt = bland cookies. Taste the dough after mixing and add ¼ teaspoon of fine sea salt (yes, even if the recipe doesn’t list it). The peanut butter’s richness needs that pinch to balance it out—trust me, your first bite will be a revelation if you skip this.
Troubleshooting perfect results
Dough Too Sticky
If your dough feels too sticky to handle, you likely didn't chill it long enough or your kitchen is too warm. Let the dough rest in the fridge for an additional 30-60 minutes—this helps the flour absorb moisture.
For extra insurance, chill the dough overnight. If it's still too sticky, add 1 tablespoon of flour at a time until it becomes workable. Just don't overdo it, or your cookies will turn out dry. 🥄
Cookies Spread Too Much
Overmixing the dough or using cold butter can cause excessive spreading. Make sure your butter is softened but not melted, and mix only until combined. If your cookies spread too much, try baking them at 375°F for 8-10 minutes instead of the recommended 350°F.
Another trick is to flatten the dough balls slightly before baking—they'll hold their shape better. Chill the dough longer if needed, as this also reduces spreading.
Cookies Too Dry or Crumbly
Dry cookies often happen when too much flour is added or the dough isn't rested properly. To fix this, reduce flour by 2 tablespoons next time and ensure you're using the right amount of peanut butter—too much can absorb excess moisture.
If your dough seems dry, add 1 tablespoon of milk or water and mix gently. For extra richness, try adding 1 tablespoon of melted butter to the dough. Store-bought peanut butter with added oils can also contribute to dryness, so stick to natural brands.
No Cracks on Top
Those signature cracks come from proper dough hydration and baking soda. If your cookies lack cracks, your dough might be too dry or the baking soda is old. Try adding 1 teaspoon of milk or water to the dough for better moisture balance.
Also, ensure your baking soda is fresh—old baking soda loses its leavening power. For extra cracks, press the dough balls down slightly before baking, which helps create tension that leads to those beautiful patterns. 🌟
Peanut Butter Separation
If your peanut butter separates during mixing, it's likely because the oil separated from the peanut butter. Stir the peanut butter vigorously before using, or microwave it for 10-15 seconds to help blend it back together.
For a smoother dough, use room-temperature peanut butter. If separation still occurs, strain the peanut butter through a fine-mesh sieve before adding it to the dough to remove any oil that might have separated.
Burnt Edges
Burnt edges usually mean your oven runs hot or your cookies are baking too long. Check your oven temperature with an oven thermometer—many home ovens run 25-50°F hotter than the set temperature. Reduce the baking time by 1-2 minutes and rotate the baking sheets halfway through baking.
If your cookies still brown too quickly, try baking them on the middle rack instead of the top. For extra insurance, use dark-colored baking sheets—they absorb heat better and can help regulate temperature more evenly.
Nutrition facts
Frequently asked questions about Grandma's peanut butter cookies
Why do these cookies need to chill overnight?
Chilling the dough for 2-24 hours develops deeper flavor and prevents excessive spreading. The flour fully hydrates, creating that signature crackly top and chewy center. Grandma always swore by it—patience makes perfect cookies!
Can I make these cookies without chocolate chips?
Swap them for white chocolate chips, toasted pecans, or even crushed pretzels for a salty-sweet twist. The peanut butter flavor still shines, but the texture changes slightly. For classic taste, stick with the original recipe.
How do I store leftover cookies?
Keep cookies fresh in an airtight container at room temperature for 5-7 days. For longer storage, freeze baked cookies in a single layer before transferring to a sealed container—lasts 3 months. Reheat at 300°F for 5 minutes to restore that fresh-baked aroma.
What's the secret to those perfect cracks on top?
The cracks come from proper dough hydration and fresh baking soda. Press dough balls slightly before baking to create tension. If your cookies lack cracks, your dough might be too dry—add 1 teaspoon milk next time. Old baking soda loses its magic, so check the date!
Can I substitute peanut butter with sunflower seed butter?
Yes, but the flavor will be different. Sunflower seed butter works for nut-free versions, though it lacks the classic peanut taste. For best results, use a 1:1 ratio and add ½ teaspoon cinnamon to mimic peanut butter's depth. The texture remains similar, just with a seedier profile.